In my last blog I talked about how important it is to analyze your plot before buying plants or redesigning the space. This understanding is the foundation of a successful garden design. In this chapter, we delve into my favorite part of garden design: plant design! Beth Chatto, a renowned English garden designer, pioneered the practicality of using plants in their preferred environments. Her approach to plant design, which we can all learn from, emphasizes the importance of understanding a plant’s natural habitat for optimal growth and performance. Right plant, right place.
Before we talk about plants, all the garden analysis we have discussed in previous blogs typically results in a detailed layout plan for your garden and notes to support the construction details of the design. This plan will include the placement and size of planting beds and an overall idea of the garden style you want to achieve, which is essential when selecting plants. For example, will your garden be formal or informal, naturalistic or geometric, etc? Deep curves create informality, wide angles create drama, and straight paths create formality. Garden magazines, websites, and gardens can be valuable inspirations as you come to your planning details. Cut out photos or save screenshots and create a mood board for your garden; ideas breed ideas.
Suffolk Garden Design Program
After much discussion the garden design program for Suffolk came together:
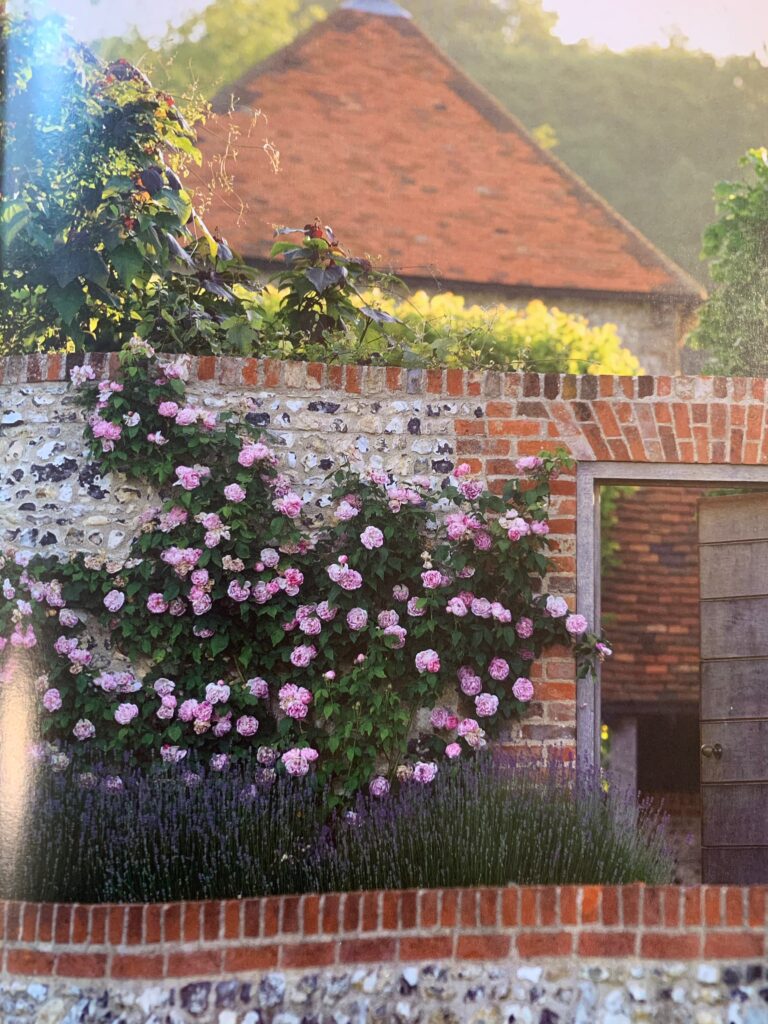
- Rebuild the Victorian red brick wall to the front of the house, plant with Hidcote lavender
- Create a large driveway with a turning circle to front of the house
- Retain existing birch tree in centre of driveway
- Cut back hedges hard to create additional space
- Create central paved steps from the driveway to the new front door
- Size: Min 4.5ft wide proportionate to the porch
- Material: Indian York paving with Victorian brick edging
- Create an arrival area at the front door big enough for visitors to gather
- 50-60sq ft
- Material: Indian york paving
- Containers on either side of the door to create a focal point
- Add a transitional brick path leading from the front door in both directions to the patio area to the south and round to the new second entry to the north, and the stairs to the top tier of the garden and the back gate
- Size: Min 4 ft wide; length depends on the start point
- Material: Indian York paving laid as per the photo attached
- Create a curved patio to surround the house as per the drawing
- Create raised flower beds min of 6ft wide min all away around the new mid-terrace patio areas
- Material: Indian York paving laid as per drawing and Victorian red brick walls
- Create a terrace tier of steps to the meadow area at the top of the rear garden
- Size: 4ft wide, with 12″ pads and 6″ rise
- Material: Indian York paving and Victorian red brick
- Install a short-term irrigation system to support foundation planting in new beds
- Install electric cable to enable garden lighting at a later stage and for summer
- Install meadow planting in the top tier of the garden
- Install a small summer house and sitting area to the west top of the garden in the meadow with a patio for relaxing
- Size: 3x3m for summer house and additional 5×5 for sitting area
- Materials: Indian york paving
- Storage shed for garden furniture and beach equipment
- Size: 7ft x5ft
- Materials: Wood painted
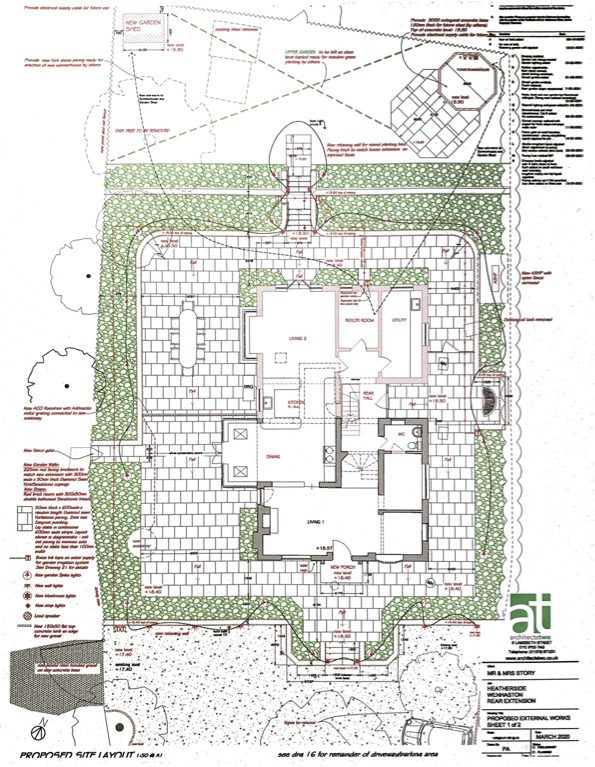
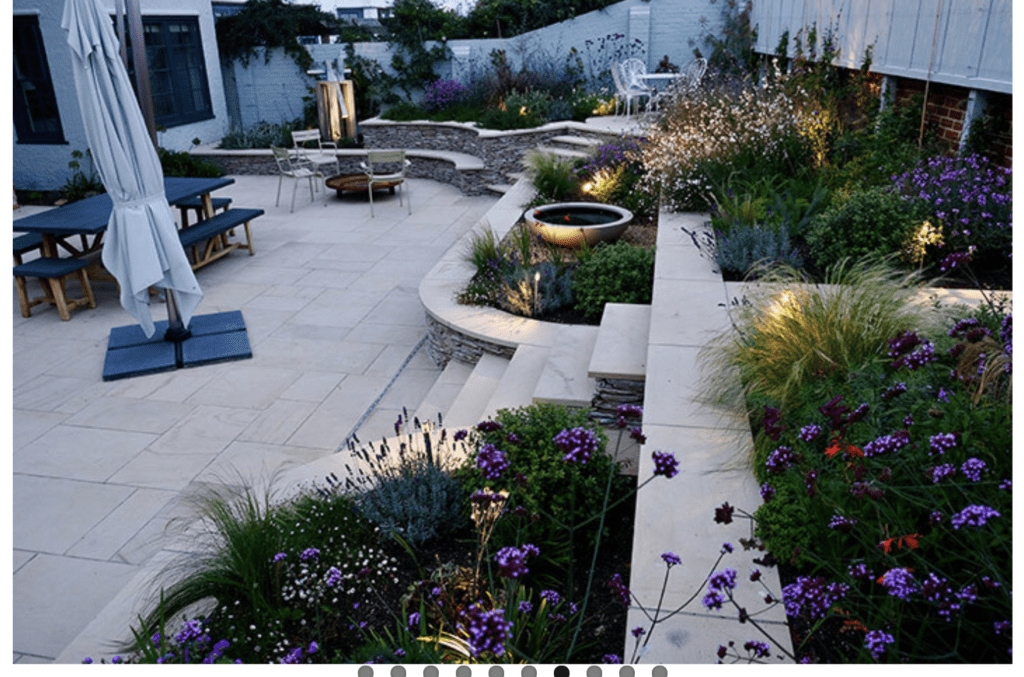
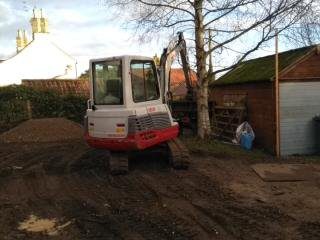
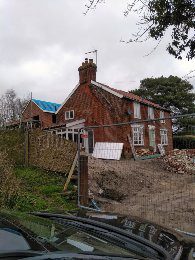
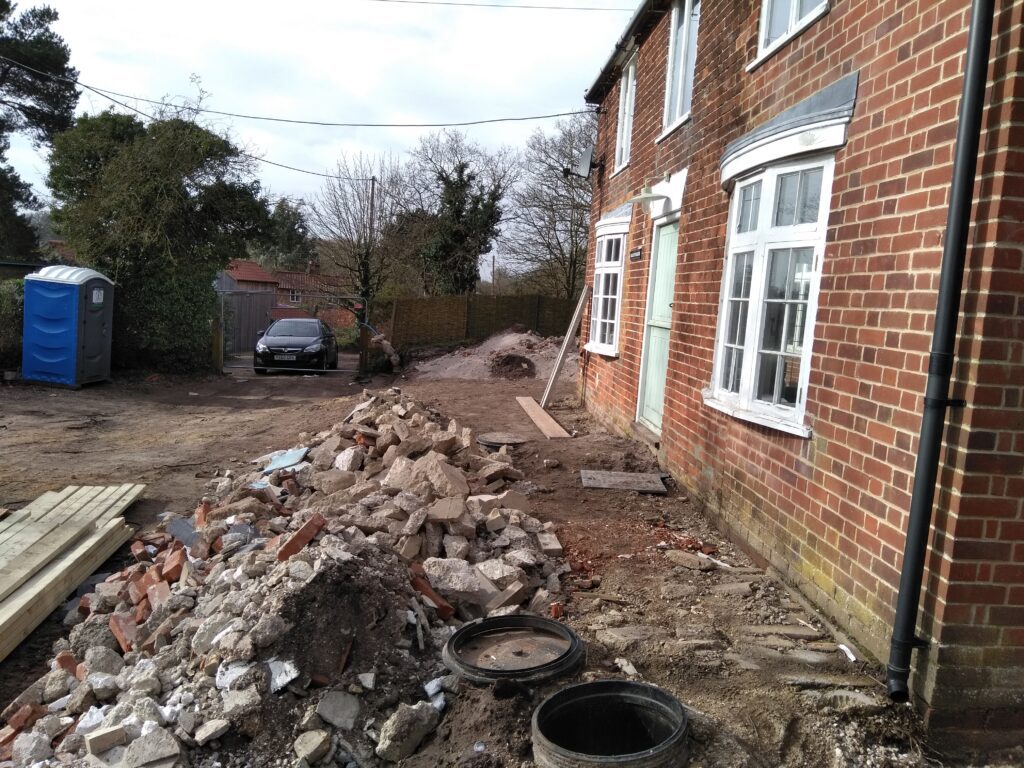
The images below give you an idea of the scale of our changes to the house and the landscaping.
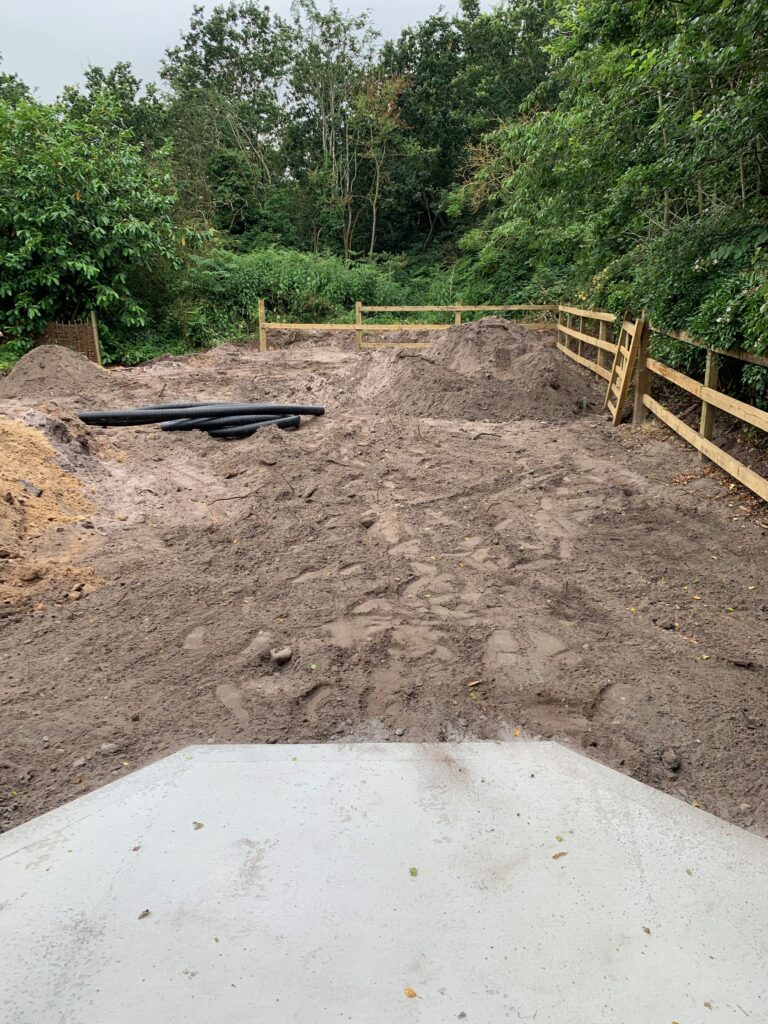
Top of the garden before the meadow was planted 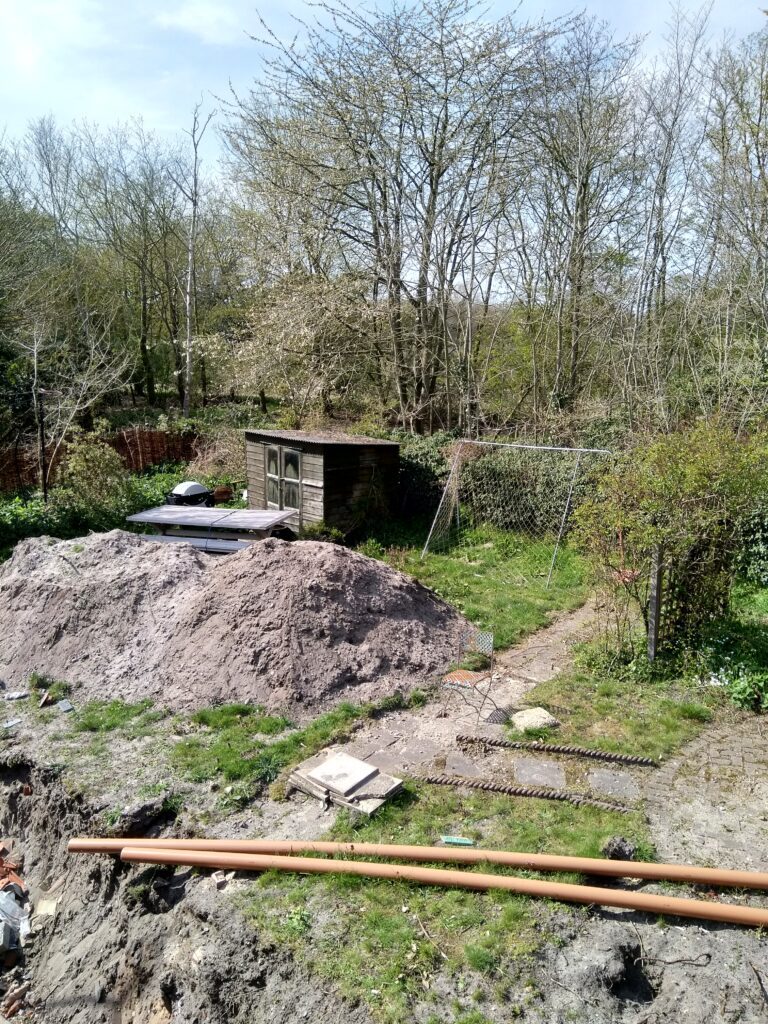
What parts of the garden design program are essential to plant design?
Let’s examine what we took from the Suffolk design plan.
The curved patio informs the informal garden design and encourages visitors to stop, look at the planting and views, and stay and relax. The Victorian red brick mirrored the cottage’s original architecture and was to be a feature of the new planting beds and proposed cottage garden planting theme. The red brick would work best with plants that were bold in color and contrasting well. The meadow at the top of the garden added to the informal, naturalistic theme for planting, whilst the lavender hedge created a clear boundary between the driveway and the garden. The deep planting bed depths created ample space for informal, naturalistic mass planting and vertical designs. The increased number of flower beds was essential to soften the hardscape patio we needed for additional space to entertain. More planting beds also provided scope and space to balance native and exotic plants and create a biodiverse and sustainable garden. Overall, our planting theme was informal and naturalistic. Instead of replacing the lawn, we dedicated the top tier of the garden to a wildflower meadow that we could enjoy from the summerhouse in the late afternoon.
How to achieve a good plant list
Armed with our theme and the planting dimensions, we moved on to the best part: selecting plants. My experience working with clients and my professional landscape training helped me create a plant list that is both beautiful and practical based on location and soil quality. Here is a top tip list on achieving a great plant list.
- Choose plants in proportion to the size of the buildings
- Give plants room to grow; don’t plant too many plants too close together
- Use plants or structures to block unsightly views or frame-pleasing ones
- Consider the colour of the building and the plants, work with what you have
- Locate plants in natural sight lines: at the end of a walkway, view from a window or door, or view from the street; you want to be able to see them easily
- Place a focal point opposite an unattractive view to divert attention
- Limit the use of focal points to avoid distraction; one or two focal points in a small garden is plenty
- Use vertical layering (plants of different heights)
- Use horizontal layering (masses of plants)
- Use seasonal layering (bulbs and self-sowing annuals for interest and color all year)
- Consider winter interest; you might want some evergreens for year-round structure.
- Consider composition, structure and texture before colour
- Write a draft list of plants that fit your brief, but be prepared to change as you develop the plan. Keep this plan on your laptop/computer.
- Draw them on the garden plan, even if it’s just a sketch you must work on.
Here is the plant list I developed. It’s enormous; we planted a one 1/2-acre plot from scratch. I also used Photoshop to create a plant layout to help focus on scale and color combinations and to work out quantities for each plant. Finally, I did sketch drawings of the heights and colors of plants.
As I honed the plant list, I visualized creating a classic cottage garden in a naturalistic style that reflected the wildness of the Suffolk coast and beaches. Naturalistic planting styles also reflected the neighboring farmland and protected heathland and softened the hard lines of the patio and the red brick building.
My next blog will share how the garden construction came together, including planting and sourcing plants. It was a definite labor of love, but I had always wanted to have the chance to overhaul the garden in Suffolk, and doing most of the hands-on planting ourselves was great fun and inspiring.
If you need any help sourcing plants or containers, please get in touch at [email protected]
Here to help us all become gardeners and make the world greener